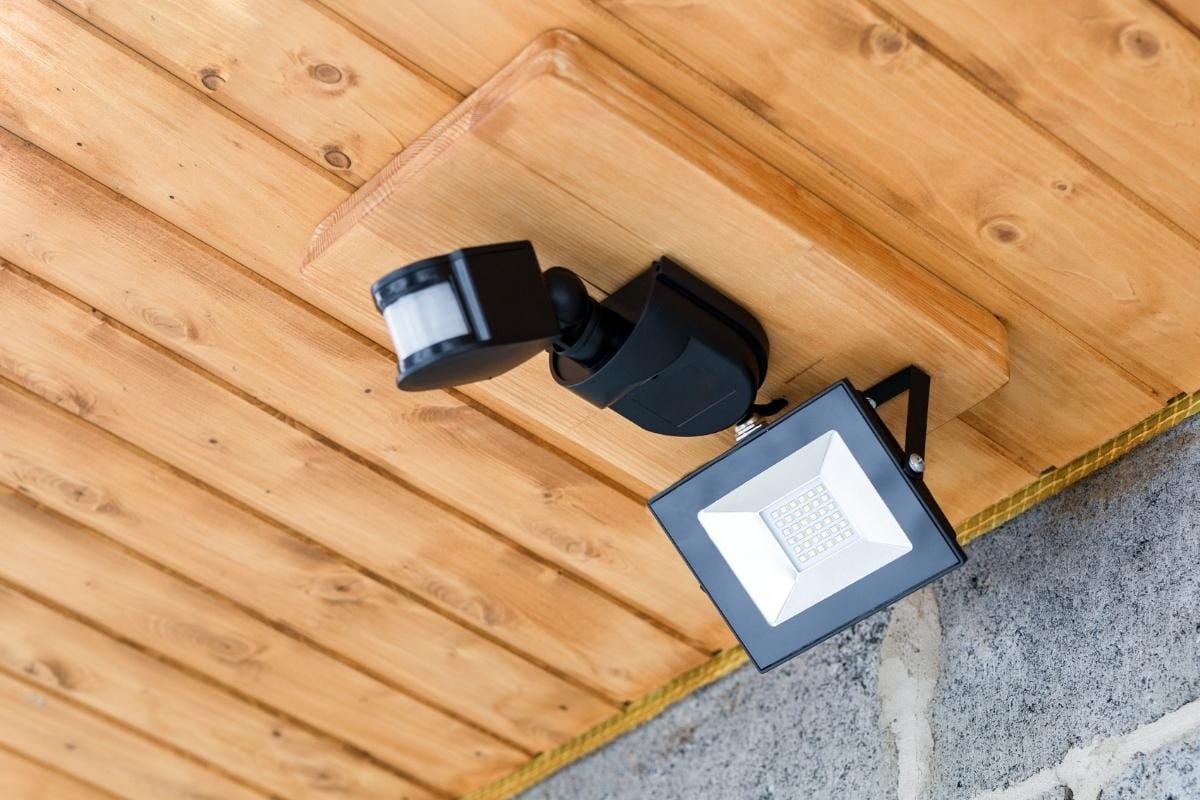
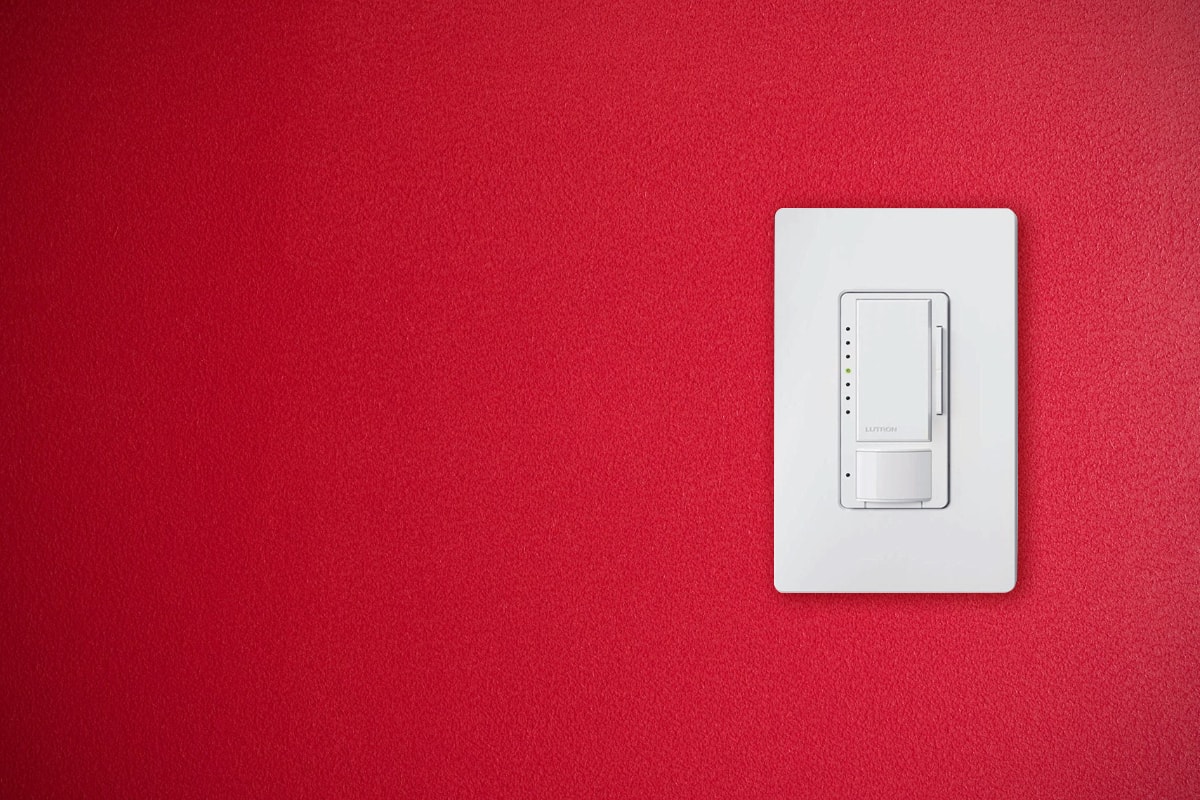
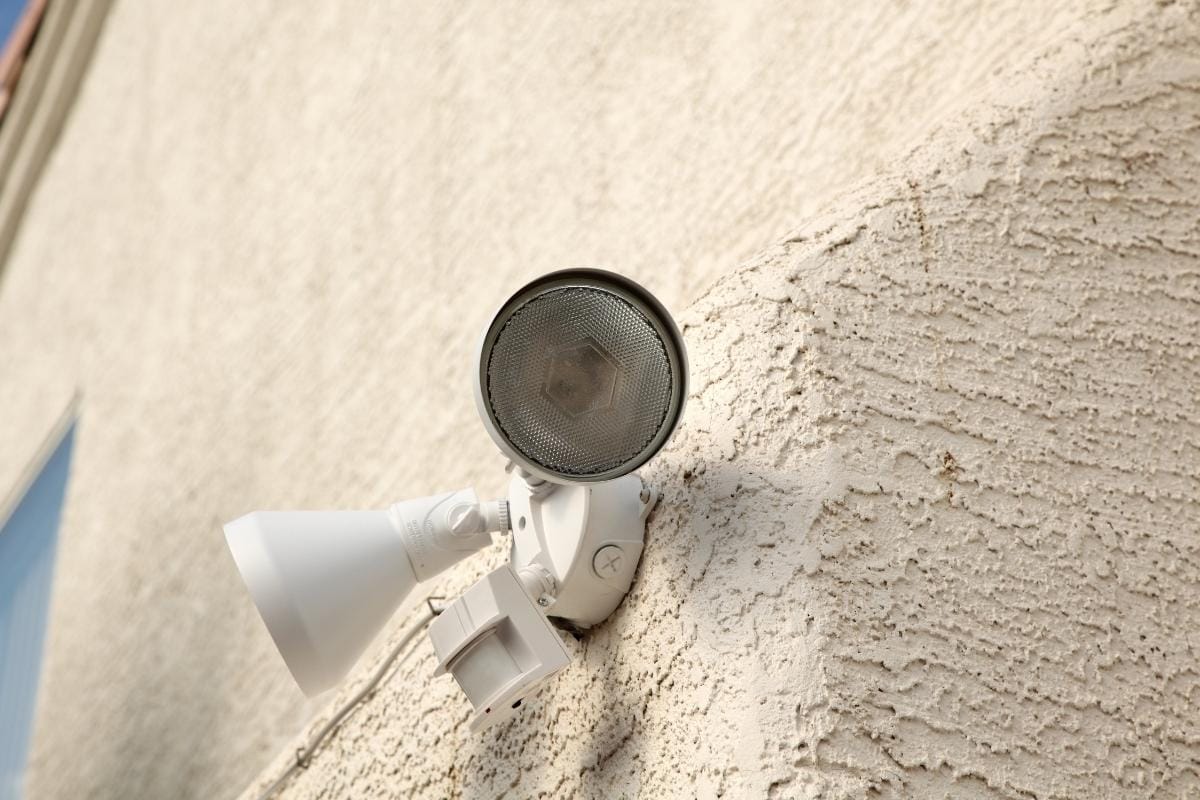
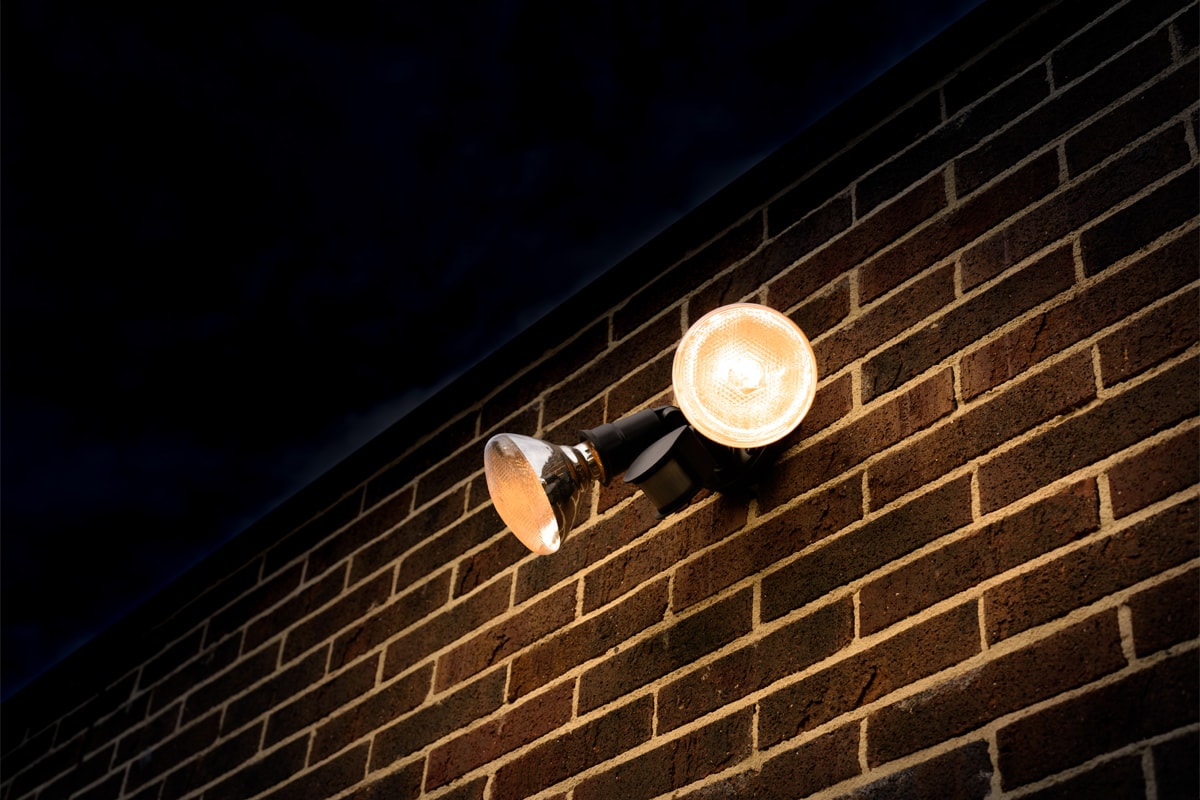
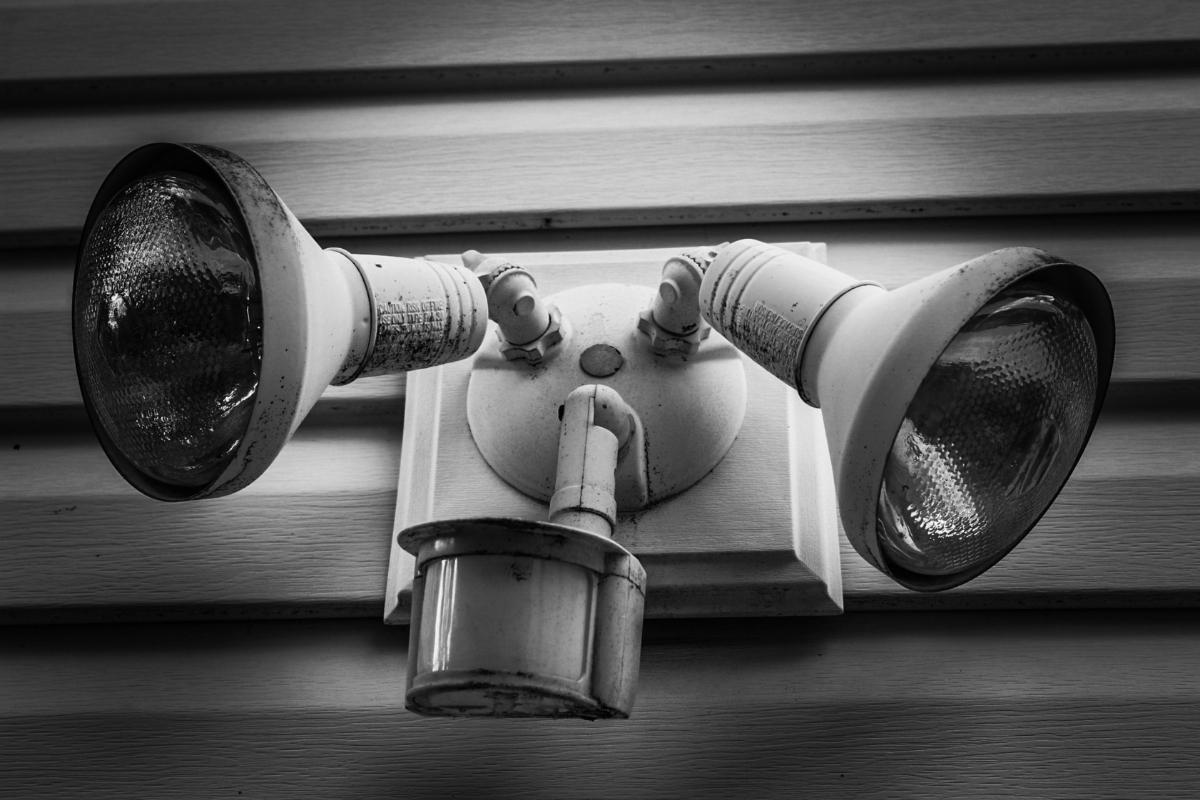
Installing a motion sensor light is an easy task. Though the motion sensor light has an additional motion detector inside, it is no different from installing a regular light fixture or installing a motion sensor switch.
Motion sensor lights are primarily used outdoors, so it’s critical for homeowners to pick the best outdoor motion sensor light for their house to withstand hard weather conditions such as rust, corruption, water and be consistently durable.
Remove the Existing Light
The first thing is always to turn off the power to ensure our safety before touching the light. Turn off the light switch to the existing light first, locate and turn off the circus breaker to the light in your house’s electrical panel.
Before removing the light, use a non-contact voltage tester to confirm the power is off. After you have removed the light fixture and the wires are out, use the non-contact voltage detector to test the cables to ensure the power is completely off. Some light fixtures might be heavier than they look, so be careful to hold tight while removing the light.
After you have completely removed the light fixture, carefully put the light away somewhere else. Now we can have a look at the wires inside to identify the hot and neutral wires.
There may be several wires in the exposed box that lead to other lights or switches. What we need are the same wires that were connected to the light before. While we are unwiring the existing lights, we would usually see at least two wires: a load wire and a neutral wire.
The standard color code for hot wire is black or red, and the neutral wire is white. For older built houses that do not apply the current color codes, you might see different colored wires in the junction box. The wire that goes to the light is the the load wire, and the wire that goes out from the light is the neutral wire.
If you are not 100% sure, turn on the power and use a non-contact voltage tester to confirm. The hot wire is powered and the neutral wire has no power. Turn off the power after and use the voltage tester to verify the power is completely off before proceeding next steps.
Your light might be connected to the green/yellow color or bare copper ground wire or the ground screw in the bracket or sometimes even without grounded. For the ground wire, we can apply the wiring method to the new motion sensor light same as how it’s done before.
Cut the wires and strip the insulation to at least 0.5 inches bare to prepare for the installation with the new motion sensor light if needed.
Install the Motion Sensor Light
Whether you need to install or replace a motion sensor light, the installation, especially the wiring, is pretty easy that every homeowner can do it themselves.
- The first step is always to look at the user manual of the motion sensor light before installation. Though the installation for motion sensor lights is nearly identical between various models, manufacturers might have differences in how to mount and wire the light depending on how many adjustments they’ve made to improve their lights.
- Some motion sensor light does not come pre-assembled by default, so you should consider assembling the lights or inserting the light bulb before installation.
- If your light fixture comes with a bracket or other fittings for mounting the light, install them first and attach your motion sensor light to the junction box.
- Connect the hot wire(marked while we remove the previous light) to the black or red load wire to your motion sensor light. Wire all white neutral wires together. Apply the ground wiring same as before.
- Tighten the locknuts, fix the motion sensor light according to the instruction manual, and prepare for test and adjustment.
Adjust the Motion Sensor Light
After we have installed the motion sensor light, we have to test and adjust the settings of the motion sensor for the best result.
Flip the circus breaker to turn on the power to the light.
Most motion sensor lights will turn on normally when you walk in front of it. Don’t worry if your motion sensor light won’t turn on.
According to their models and applications, the default mode of motion sensor lights is quite different. For example, some motion sensor lights are set to dusk to dawn mode so they won’t turn on in the daytime, and some lights provide a test mode for you to test when first installed.
Follow the user manual of your lights and test the motion sensor with each function and adjust the best value for:
- The Timer: how long the light is kept on when activated.
- The Sensitivity: how far the motion sensor detects.
- The Ambient Light or Dusk to Dawn Value: whether the motion sensor can turn the light on in the daytime.
- Finally, adjust the motion sensor and light’s position to the ideal angle direction for the best coverage.
Now you have successfully installed a motion sensor light all by yourself without the help of an electrician. But if you have any doubt during the installation process, call a certified electrician for support. Safety is always first.

